Sloopmelding and Demolition Planning for Major Residential Renovations in the Netherlands
Embarking on a major residential renovation in the Netherlands is an exhilarating journey that transforms your living space. Yet, before the first wall comes down, you must navigate a critical administrative and safety procedure: the sloopmelding, or demolition notification. For Dutch residents, understanding this process is not just about legal compliance; it is about safeguarding your investment, ensuring the structural integrity of your home, and protecting yourself from significant fines and project delays. This article provides a comprehensive guide to demolition planning, fully contextualized within the Dutch building rules (Bouwbesluit 2012) and municipal regulations. We will dissect every stage, from recognizing when a notification is required to executing structural work safely and efficiently.
What Exactly is a Sloopmelding?
In the simplest terms, a sloopmelding is a formal notice you submit to your local municipality (gemeente) before you begin any demolition work. It is a cornerstone of the Dutch regulatory framework, designed to manage risks associated with noise, dust, hazardous materials like asbestos, and structural stability. This process is separate from, and often precedes, an environmental permit (omgevingsvergunning), although the two are increasingly integrated under the Omgevingswet. Treat the sloopmelding not as a bureaucratic hurdle, but as a mandatory risk-assessment tool that forces you to plan the demolition phase with surgical precision.
Crucial Distinction: Sloopmelding vs. Omgevingsvergunning
A common point of confusion arises between the sloopmelding and the omgevingsvergunning (all-in-one permit for physical aspects). A detailed comparison clarifies their roles:
| Feature | Sloopmelding | Omgevingsvergunning (Building Permit) |
|---|---|---|
| Primary Trigger | The act of demolition itself, based on waste volume or asbestos risk. | Changing the structure, appearance, or use of a building. |
| When Required | When removing 10 m³ or more of demolition waste, or any amount if asbestos is suspected. | For building an extension, altering a load-bearing wall, or changing the roof structure. |
| Core Purpose | Safety, waste management, and hazardous material control. | Spatial planning (bestemmingsplan) compliance, structural safety, and aesthetic standards. |
| Assessment Focus | Your demolition plan, safety perimeter, and asbestos inventory report. | Your architectural drawings, structural calculations, and aesthetic impact. |
The Legal Thresholds: When is a Sloopmelding Mandatory?
Dutch legislation sets clear quantitative and qualitative triggers. You must submit a sloopmelding in the following situations:
- The 10 m³ Threshold: If your renovation generates an estimated 10 cubic meters or more of demolition waste, a notification is compulsory. Visualize this: stripping a typical bathroom (tiles, plaster, sanitary ware) often stays below this limit. However, removing a single internal load-bearing wall, a complete ground floor screed, or dismantling an old brick chimney almost always surpasses it.
- The Asbestos Clause: Regardless of the waste volume, if your property was built before 1994 and you are disturbing materials that could potentially contain asbestos (such as old floor tiles, roofing sheets, or insulation around pipes), you are legally required to commission an asbestos inventory report (asbestinventarisatierapport) by a certified company (SC-540). The sloopmelding must include this report. Even drilling a single hole in a suspect corrugated roof sheet triggers this obligation.
Detailed Demolition Planning: A Step-by-Step Inventory
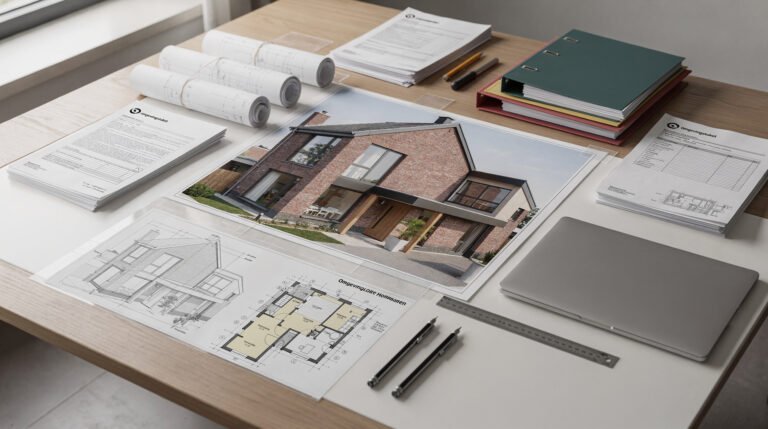
Effective demolition planning is the bedrock of a successful renovation. Before you fill out any form, conduct a room-by-room inventory of every structural element you intend to remove. This is the moment to move from a grand vision to granular detail. Your inventory must translate into a precise demolition plan that you will attach to your sloopmelding.
Creating Your Structural Demolition Map
Start with your original construction drawings. If you lack these, measure and sketch the affected areas. On this plan, meticulously map out the following, using a color-coded system for absolute clarity:
- Load-Bearing Elements (Red): Identify walls, columns, beams, and lintels that support the structure above. Never remove these without a certified structural engineer’s calculation and a separate omgevingsvergunning. Your demolition plan must explicitly state “NO DEMOLITION” or “TO BE ASSESSED BY STRUCTURAL ENGINEER” for these elements. This protects you from catastrophic structural failure.
- Non-Load-Bearing Partitions (Green): These walls only support their own weight. Common in metal stud and plasterboard or lightweight Ytong blocks. Mark these for removal. Note their composition, as this determines waste separation strategy.
- Finishes and Fixtures (Blue): Systematically list every item to be stripped. Include ceiling plaster, wall tiles, floor screed, built-in wardrobes, kitchen units, and bathroom fixtures. This detailed list is the basis of your waste volume calculation.
- Hazardous Material Hotspots (Yellow): Based on the property’s age, mark all areas of suspicion for asbestos or lead paint. This visual map is invaluable for the asbestos inventory company you will hire.
- Utility Terminations (Orange): Mark the precise points where gas, water, electricity, and data lines must be safely capped or disconnected by a licensed professional before any physical demolition starts.
Executing Structural Work: The Safe Demolition Sequence
With your plan approved and sloopmelding acknowledged, you can proceed. The sequence of structural work is non-negotiable. Following a top-down, inside-out methodology is standard best practice for residential renovations.
The Non-Negotiable Demolition Sequence
Phase 1: Hazard Abatement. This absolute first step involves the licensed removal of all identified asbestos. Seal the work area with negative air pressure units. No other workers or residents are permitted on site during this phase. After removal, an independent final visual inspection and air clearance test are mandatory to get a safe-site release. This is followed by testing for and safely removing lead paint, using chemical strippers with HEPA-filtered extraction, never dry sanding.
Phase 2: Soft Strip. This phase involves removing all non-structural finishes. Execute it in a strict top-down order: start with ceilings to expose hidden pipes and wiring, then strip wall finishes, and finally pry up the floor screed. This order prevents debris from damaging already exposed lower layers. Immediately sort waste on site into designated containers for clean rubble, wood, metals, and mixed construction waste to optimize recycling and control costs.
Phase 3: Non-Load-Bearing Dismantling. After the soft strip, carefully dismantle the non-load-bearing partitions. For a brick wall, use a soft demolition hammer, working from top to bottom in small sections to prevent uncontrolled collapse of a large panel.
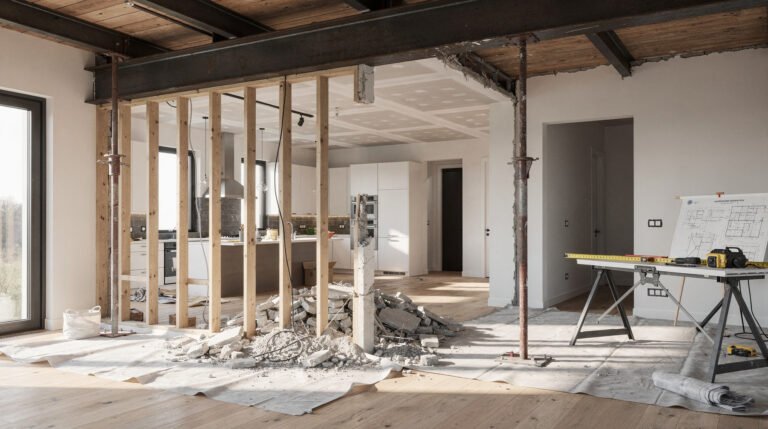
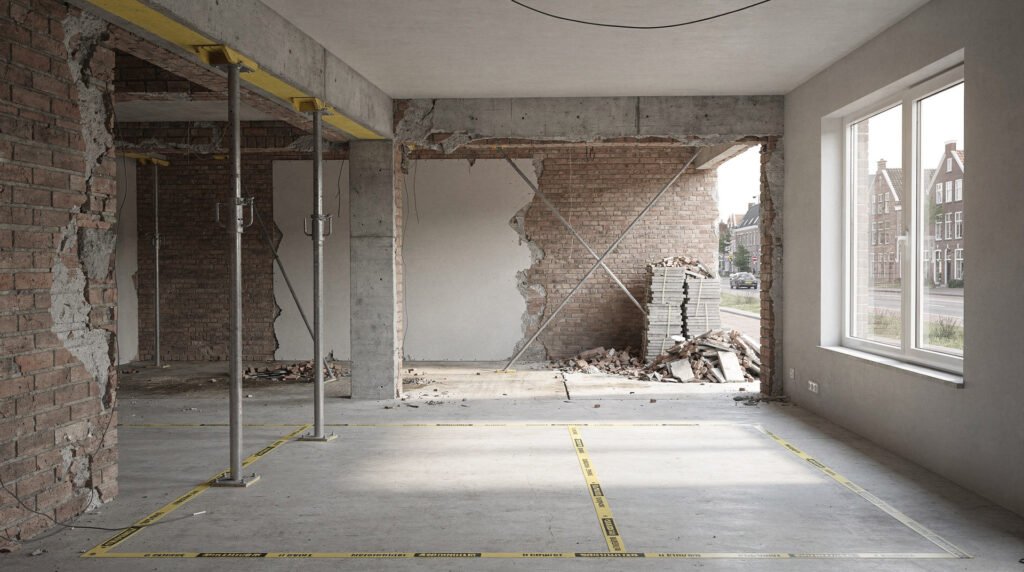
Phase 4: Load-Bearing Intervention (Only if Permitted). This is the most critical and regulated phase. It only proceeds after a structural engineer has issued detailed method statements. Typically, a new steel or concrete beam with adequate temporary supports (stempels) is installed before any brick above the proposed opening is removed. A phased approach is used: install the needle beam and props, then carefully create a series of small openings (insnoeiven) without vibration, insert the final beam, and only after full structural load has transferred, remove the remaining wall below.
Practical Tips for Dutch Homeowners
Implement these actionable best practices to ensure your renovation complies with Dutch rules and proceeds without costly interruptions.
- Verify Your Omgevingsplan Immediately. Before you plan any demolition, consult the digital Omgevingsloket (from 2024, the national rules are unified under the Omgevingswet). Confirm that your intended renovation, post-demolition, is allowed. A sloopmelding lets you demolish, but a separate permit is needed if the new structure differs from the allowed zoning plan. Starting work without this clarity leads to the legal order to reconstruct at your own expense.
- Calculate Waste Volume Pragmatically. For a standard interior wall of solid sand-lime brick, use this formula: wall length (m) x wall height (m) x wall thickness (m) x 1.5. The multiplier of 1.5 accounts for the bulking factor, as demolished brick occupies more space as a loose pile. A wall measuring 4m long, 2.6m high, and 0.1m thick generates approximately 1.56 m³ of waste. Continually tally these calculations. Whenever your total, including floor screed, tiles, and sanitary ware, nears 10 m³, filing a sloopmelding is your only safe path.
- For Homes Pre-1994, Assume Asbestos is Present Until You Have Certified Proof It Is Not. Do not take risks. Drill core sampling is not a DIY task. Commission a full Type A (destructive) inventory report from an accredited (RvA-accredited, SC-540 certified) inventory bureau. This report maps all asbestos locations and types, becoming your legally required working plan for the removal contractor.
- Document the Pre-existing Condition. Take high-resolution, date-stamped photos and videos of your neighbor’s adjacent walls, ceilings, and, most critically, any existing cracks before you start. This is an essential part of your demolition plan, offering indisputable protection against liability for damage claims that can arise from vibration during your structural work.
- Notify Your Neighbors Formally. Beyond legalities, provide your direct neighbors with a written notice detailing the project’s scope, planned noisy demolition days, and your contact information. Explicitly state the structural precautions you are taking. A proactive, transparent approach prevents formal complaints to the municipality’s Bouw- en Woningtoezicht department, which can instantly halt your project.
- Manage Dust Aggressively. Demolition generates respirable crystalline silica dust from concrete and brick, a serious health hazard. Do not rely on simple masks. Create a negative air pressure environment in the zone by sealing it with plastic sheeting and using a heavy-duty air scrubber with HEPA filtration that exhausts outward through a window. Continuously spray a fine water mist on debris to suppress dust at its point of creation. This is a crucial component of your safety plan.
Conclusion
Navigating the sloopmelding and demolition planning process for your residential renovation is a fundamental test of project competence. In the Netherlands, the system is not designed to obstruct but to enforce a discipline that protects lives, structures, and community well-being. By meticulously calculating your waste volume, respecting the absolute legal requirements around asbestos, and choreographing your structural work with a safety-first, top-down sequence, you transform a high-risk phase into a controlled, clean, and compliant foundation. Master these Dutch building rules, and you do more than satisfy the municipality; you build with the confidence that your newly renovated home rests on a process of rigorous integrity, ensuring your investment is structurally and legally sound for decades to come.