Navigating Permits, Structural Calculations, and the Omgevingsloket for Major Home Renovations in the Netherlands
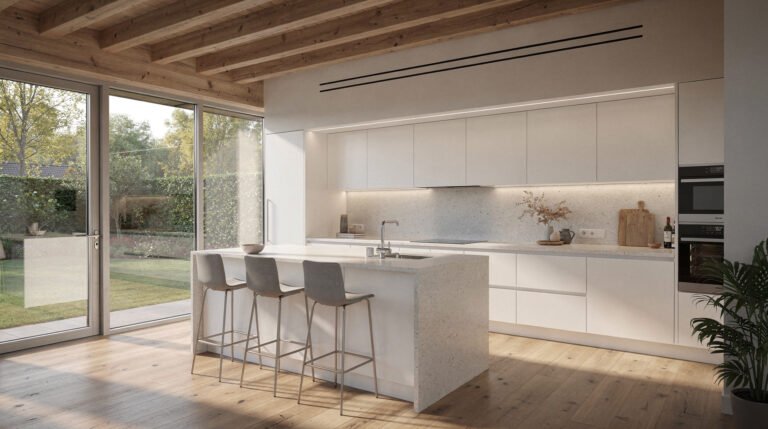
Embarking on a major renovation or home extension in the Netherlands is an exciting journey, but it quickly leads you into a world of regulations. The thrill of designing a new open-plan kitchen or adding a dormer window can fade if you face a stop-work order due to missing paperwork. Understanding the Dutch system of permits and structural safety is not just red tape; it is the protective foundation ensuring your home remains safe, legal, and valuable. This guide demystifies the process, focusing on the digital Omgevingsloket and the critical role of structural calculations, so your project proceeds without costly delays.
Understanding the Basics: Renovation Law in the Netherlands
Before you draw up plans, you need to grasp the fundamental distinction between permit-free and permit-required construction. Dutch renovation law, historically governed by the Wabo (General Provisions Environmental Law) but now encapsulated in the new Environment and Planning Act (Omgevingswet), clearly defines this boundary. Your project legally exists in one of these two spheres, and misjudging this can have significant legal and financial repercussions.
Permit-Free vs. Permit-Required Construction
Many homeowners believe small extensions are automatically permit-free, but this is a dangerous assumption. The national law stipulates specific conditions under which you can build without an omgevingsvergunning (environmental permit). The most critical parameters are location and dimensions. Your project must strictly adhere to these rules; even a single centimeter over the line pushes you into the full application process.
Key conditions for permit-free extensions (often related to the back garden):
- The extension must not be higher than 5 meters, but no higher than 0.3 meters above the first floor’s ceiling.
- The total floor area of all ground-floor extensions cannot exceed 50% of the garden area, with a maximum cap of 150 m².
- Any structure within 4 meters of your main home must not exceed 30% of your total garden area.
- The depth of the extension from the original rear facade is capped at 4 meters.
If your house is a designated monument or located in a protected cityscape (beschermd stads- of dorpsgezicht), these permit-free allowances are often voided. You will almost always require a full permit to make any external changes. Always cross-reference your local bestemmingsplan (zoning plan) before finalizing any design, as municipal rules can impose stricter limits than the national guidelines.
A Deep Dive into the Omgevingsloket: Your Digital Gateway
The Omgevingsloket is the digital counter for all interactions between you, the municipality, and the permitting authorities. This portal processes everything: notifications for simple work, permit applications for major renovations, and preliminary concept reviews. Understanding how to use this system is essential for any major renovation planning in the Netherlands.
The Concept Request: De-risking Your Project
One of the most powerful but underused tools in the Omgevingsloket is the conceptaanvraag (concept request). Before you spend thousands of euros on detailed architectural drawings and structural calculations, you can submit a rough sketch and a description of your plan. The municipality provides a non-binding assessment, indicating whether your plan is likely to be feasible under the local zoning rules. This step takes a few weeks but can save you from designing a structure that will never get approval. If, for example, you want a flat roof extension that exceeds the maximum building height in your zoning plan, the concept review will flag this immediately, allowing you to adjust before formal submission.
Preparing for a Full Application
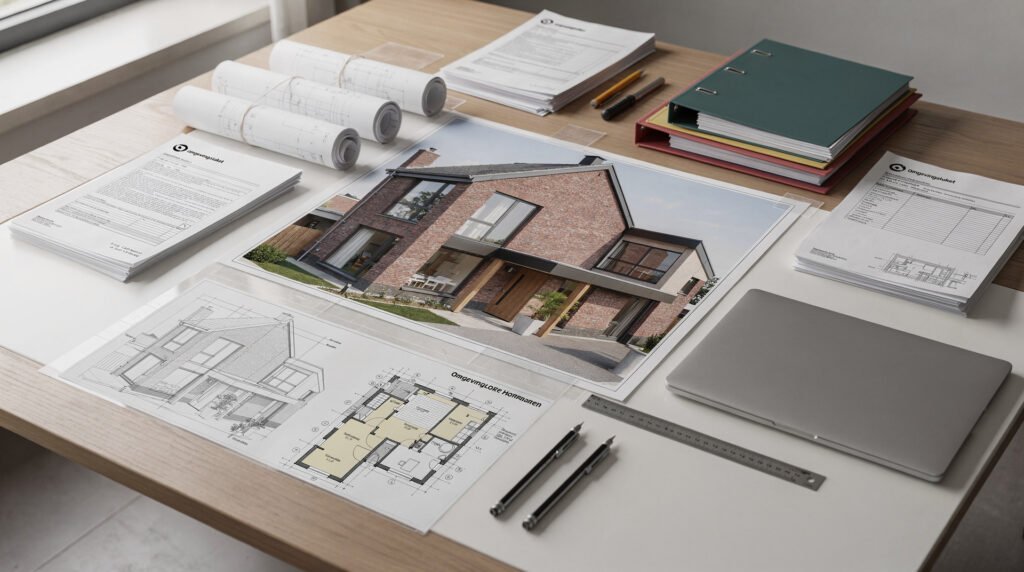
When you are ready for the formal application via the Omgevingsloket, you must upload a complete set of documents. An incomplete dossier is the primary reason for delays. For a major extension requiring a permit, your dossier typically needs to include:
- A completed application form detailing the nature of the work.
- Location drawings (cadastral map with your plot and the structure clearly marked).
- Existing floor plans, sections, and elevations.
- Proposed floor plans, sections, and elevations showing the new construction in relation to the old.
- Detailed structural calculations, signed by a certified structural engineer.
- Aesthetics review documents, if required by the local welstandscommissie.
Once submitted, the standard processing period is a maximum of 8 weeks for a regular procedure. This can be extended by the municipality for an additional 6 weeks. If no decision is made within the deadline, the permit is automatically granted, a powerful rule known as the lex silencio positivo—though you should always actively chase it for practical proof. An extended procedure of 26 weeks applies to complex cases requiring environmental assessments. Be aware that during the first 6 weeks of the publication of the permit, objectors can lodge an appeal, meaning you cannot legally start construction until this window closes.
The Crucial Role of Structural Calculations in Your Dossier
A permit is not just about how a building looks; it is fundamentally about whether it stands up safely. For any structure involving steel beams, concrete floors, dormer windows, or deep excavations, constructieberekeningen (structural calculations) are non-negotiable. The municipality uses these to verify that your renovation will not compromise the stability of the existing structure or create a danger to the public.
When Do You Absolutely Need Structural Calculations?
You will always need structural calculations signed off by a qualified engineer when you are altering the load-bearing structure of your home. Common scenarios include:
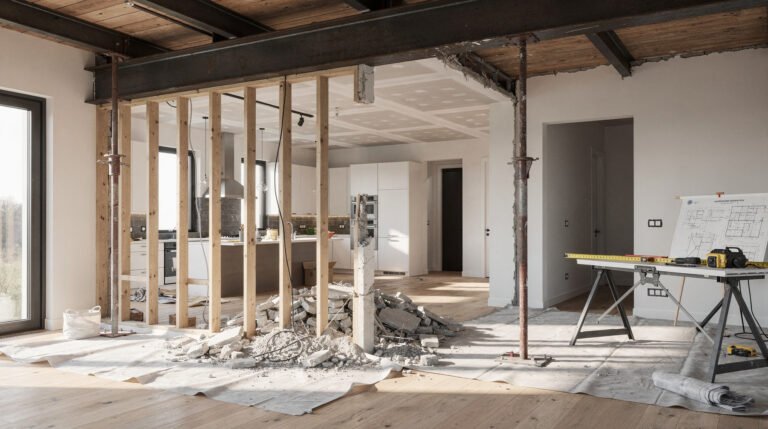
- Removing a Load-Bearing Wall: Creating an open living space requires a substantial steel or laminated beam. The calculation determines the exact size, type, and support requirements of that beam to carry the ceiling, the floor above, and any roof loads.
- Building a Full-Floor Extension: Adding a new room on the ground floor means a new foundation. The calculation analyzes the soil’s bearing capacity (based on a local sondering test, if available) to design a foundation that won’t settle, crack, and pull the house apart.
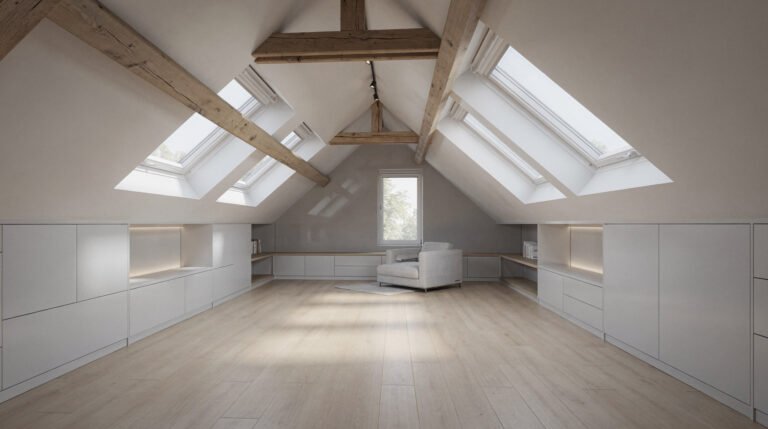
- Dormer and Roof Alterations: A dormer window changes the load path of the roof. The structural engineer calculates the new beams and posts needed to redistribute the weight safely to the load-bearing walls below.
Deciphering the Structural Report: Key Components
A professional structural report for a renovation permit is not just a number on a page. It is a comprehensive document detailing the skeleton of your project. Understanding its core components helps you communicate with your builder. Here is what a typical analysis covers:
| Calculation Element | Practical Description | Key Variables Analyzed |
|---|---|---|
| Permanent Load | The static weight of all construction materials themselves. | Weight of steel, concrete, timber, roofing, and floor finishes. |
| Live Load | The variable weight the structure must support during use. | Furniture, people, movable partitions, and snow accumulation on roofs. |
| Wind Load | Lateral pressure exerted by wind force on walls and roofs. | Building height, geographical region, and degree of exposure. |
| Bending Moment & Shear | Internal forces within a beam; bending pushes fibers to snap, shear pushes them to slide past each other. | Span length, type of supports, and combination of permanent and live loads. |
| Foundation Stress | The pressure your entire building exerts on the soil underneath. | Total building weight, foundation area, and soil type (clay, sand, peat). |
Complying with Dutch Safety Standards: Eurocodes and NEN Codes
The Netherlands, like the rest of Europe, designs to the Eurocodes. Your constructive engineer’s report will explicitly reference these to confirm compliance. These codes translate decades of scientific research into mandatory minimum safety margins. For a typical residential extension, the dominant standard is NEN-EN 1990 (Basis of structural design) and NEN-EN 1991 (Actions on structures). For steel beams, you will see references to NEN-EN 1993; for concrete, NEN-EN 1992. These codes ensure that the bending, buckling, and sheer resistance of the chosen materials exceed the expected loads by a legally required safety factor. Never accept a builder’s guess on a steel beam size—ask for the stamped engineering report that cites these specific NEN-EN norms.
Navigating Aesthetics: The Welstandscommissie
Safety is not the only hurdle; beauty is legally codified in the Netherlands through the welstandsnota (aesthetics policy). Your permit application is reviewed by a non-political, independent advisory board called the welstandscommissie. They check your design against the municipality’s criteria, often categorized by speed levels. A “Level 1” area (historic center) is a much stricter test than a “Welstandsvrij” (permit-free aesthetics) business park. For a major renovation in a residential neighborhood, you need to show your design considers the street’s rhythm, the mass, the materialization, and the detailed craftsmanship, such as window frame depth and brick bonding patterns. Submitting very poor design work can get your application rejected even if the numbers work.
Practical Steps for a Successful Application
Streamline your journey by integrating these practices into your extension planning.
- Map the First Step: Before you dream, download your local zoning plan from www.ruimtelijkeplannen.nl. Check the building envelope (bouwvlak), maximum height, and garden building rules. Measure your garden accurately.
- Engage a Qualified Architect-Engineer: Don’t hire a designer who cannot do math. Hire a professional registered in the Architectenregister, who will typically coordinate the structural engineer for you. This ensures the look and the structure are integrated from day one.
- Coordinate the Sondering: For any foundation work, order a soil survey (grondonderzoek). A specialist company drives a cone into the ground to measure resistance. Without this empirical soil data, your structural foundation calculation is just a conservative (and expensive) guess.
- Talk to Your Neighbors: Although not legally required for a regular procedure (unlike an extended one), having your neighbors’ active support is invaluable. Their signed statement of no objection attached to your Omgevingsloket submission can drastically reduce the risk of an appeal later that suspends your permit starting date.
- Use the Omgevingsloket Sensibly: Start with that concept request. For the actual submission, set aside a full afternoon to fill in every mandatory field. A missing signature or an incorrectly marked location on the digital map stops the clock. The legal review period only begins once the dossier is complete and the municipality sends a confirmation of receipt.
Conclusion
Success in a major Dutch home renovation is built on invisible paperwork and invisible engineering before the first brick is ever visible. The Omgevingsloket is your administrative gateway, but your true passport to approval lies in rigorous structural calculations and a deep respect for the welstandsnota. By embracing a proactive approach—starting with a concept check, investing in soil research, and having your plans stamped by a certified engineer in accordance with Eurocodes—you don’t just obtain a permit. You ensure the structure you are building is durable, insurable, and a safe asset for decades to come. Don’t cut corners on the calculations; they are the invisible skeleton that will hold your dreams safely in place.