Best Build Order for Insulation, New Glazing, Heating and Finishes in the Netherlands
When you undertake a full home renovation in the Netherlands, the sequence in which you tackle insulation, window replacement, heating upgrades, and interior finishes can make or break both your budget and the quality of your living environment. Dutch homes—whether a classic 1930s rijtjeshuis, a postwar doorzonwoning, or a modern vrijstaande villa—share common thermal weaknesses that demand a logical, fabric-first approach. This guide breaks down exactly why insulation must come first, when to install new glazing, how to integrate heating system upgrades, and finally, how to protect and perfect your interior finishes without undoing your hard work. By following the correct renovation sequencing, you will not only improve your energy label and comply with Bouwbesluit standards, but you will also create a comfortable, future-proof home that retains its value.
Basic Concepts: Why Sequencing Matters in Renovation
Renovation sequencing is the strategic order in which construction trades and tasks are scheduled. A full renovation touches every layer of your home: the building envelope, the services, and the decorative surfaces. If these layers are addressed in the wrong order, you risk thermal bridges, moisture problems, rework, and wasted money. Three key principles govern the best order:
- Fabric first: Improve the building’s thermal performance before sizing or replacing heating systems. This ensures you don’t overspend on a heat pump or boiler designed for a leaky home.
- Seal the envelope completely: Insulation, airtightness, and window replacement must be finished before closing up walls and applying delicate finishes. Any penetration later for new pipes or ducts can compromise the air barrier and insulation.
- Wet trades before dry trades: Plastering, screed floors, and painting should only start once the building is watertight and the climate inside can be controlled.
In the Netherlands, these principles are reinforced by strict energy performance requirements (BENG) and the need to qualify for subsidies like the Investeringssubsidie Duurzame Energie (ISDE). A correctly sequenced renovation helps you meet the minimum Rc values—for example, a roof must achieve at least Rc 6.3 m²K/W, and a floor at least Rc 3.7 m²K/W for major renovations—without last-minute corrections.
Step 1: Start with Insulation – The Foundation of Your Thermal Envelope
Insulation eliminates the largest source of heat loss in Dutch homes. It also protects the structure against condensation and mold. Tackling insulation first means opening up ceilings, floors, and sometimes external walls to reach every cavity. If you delay insulation until after new windows or a new heating system are installed, you may struggle to access hidden areas without dismantling previous work. Here is the optimal insulation sequence within an existing home:
Roof and Attic Insulation
Heat rises. In a typical uninsulated Dutch house, up to 30% of warmth escapes through the roof. Begin here, particularly if you have a pitched roof with a cold attic. You can insulate at rafter level (between and under the rafters) to create a warm living space, or at ceiling level if the attic remains unused. Common materials include:
- Glass wool or rock wool (steenwol): Affordable, easy to install between rafters; requires a vapor barrier on the warm side.
- PIR (polyisocyanurate) boards: High insulation value per millimeter (λ ≈ 0.022 W/mK), ideal when headroom is limited.
- Cellulose or wood fiber: Breathable, hygroscopic options suited for historic or monuments where moisture management is critical.
Be meticulous about airtightness. Use dedicated tapes and membranes to seal all joints. In a pitched roof, the insulation layer must connect seamlessly with the cavity wall insulation or external wall insulation to prevent a thermal bridge at the eaves.
Floor Insulation
Once the roof is done, move to the ground floor. Insulating the crawl space (kruipruimte) in Dutch homes can drastically improve comfort and prevent cold feet. Methods include:
- Bottom-side insulation from the crawl space: Sprayed PUR foam, glass wool blankets, or reflective foil clamped against the floor joists. This method leaves the interior undisturbed, ideal if you started interior finishes later.
- Top-side insulation during full renovation: Remove the existing floor, lay rigid insulation boards over the subfloor, and pour a new screed. This achieves the highest performance and allows underfloor heating integration (see Step 3) but requires a clear sequencing: do this before any wall plastering or kitchen installation.
Aim for an Rc value above 3.7 m²K/W. In high-water-table areas such as parts of Zuid-Holland, be careful with moisture management; use closed-cell insulation or install a moisture barrier.
Cavity Wall Insulation
Many Dutch homes built after 1920 have a spouwmuur (cavity wall). If the cavity is clean and dry, you can inject insulation such as EPS beads, glass wool granulate, or PUR foam. This is a relatively fast process that can be done from outside, but it must occur before you install new window frames—otherwise, the installers might damage freshly fitted frames or the insulation could spill into the window reveals. If the cavity is too narrow (less than 4 cm) or contaminated, you may need to apply external wall insulation (gevelisolatie aan de buitenkant) or internal wall insulation. External insulation is ideal during a total renovation because you can integrate it with new stucco, brick slips, or timber cladding, but always coordinate with the window replacement phase: windows should be mounted in the insulation layer to eliminate thermal bridges (see Step 2).
Step 2: New Glazing and Window Frames – Before You Upgrade Heating
Windows are the weakest thermal link in the envelope. Even with excellent insulation in the walls and roof, single or early double glazing can lose 5 to 10 times more heat per square meter. Replacing windows is also disruptive—it creates large openings, generates dust, and demands precise weatherproofing. The best time to replace windows is immediately after the insulation of the surrounding walls and roof, but before any interior finishing or heating system upgrades. Here’s why:
- Thermal bridging control: New frames should be positioned so that the insulation layer wraps continuously around the window opening. If you insulate internally, extend the insulation into the reveals; if insulating externally, the frame can sit flush with the outer insulation. This detail is impossible if plastering has already been completed.
- Airtightness integration: The connection between the frame and the wall must be sealed with expanding tape or liquid membranes. Doing this after finishing plaster and paint will lead to cracking and stains.
- Heating load calculation: After upgrading glazing and achieving a tight envelope, you can accurately size a heat pump or boiler. Oversized units short-cycle, wasting energy and reducing comfort.
Choosing the Right Glass and Frame
For full renovations in the Netherlands, HR++ (double) glazing is the minimum acceptable standard, but triple glazing (HR+++) is rapidly becoming the norm for net-zero ambitions. Typical U-values (W/m²K):
| Glazing Type | Center U-value | Frame with Uf ≤ 1.5 | Approximate Cost per m² (incl. placement) |
|---|---|---|---|
| Old double glazing (vintage 1990s) | 2.8 – 3.0 | Combined Uw ~3.0 | €180 – €220 |
| HR++ (modern double) | 1.1 – 1.2 | Combined Uw ~1.4 | €240 – €300 |
| HR+++ (triple) | 0.5 – 0.7 | Combined Uw ~1.0 | €350 – €450 |
| Vacuum glass | 0.4 – 0.5 | Thin profile, Uw ~1.1 | €600+ |
Select frames that complement your insulation strategy. Timber frames offer natural thermal performance, aluminum with a thermal break gives slim sightlines, and PVC (kunststof) is low maintenance. For monumental properties where external changes are restricted, consider fine intermediate frame solutions or thin double glazing (monumentenglas).
During installation, specify a “lifting” (plaatsen op nieuw kozijn) or “frame replacement” (het vervangen van het kozijn) approach, never just glass-only replacement because you want to improve airtightness and insulation around the frame. If you are planning external insulation, order wider frames or use extension profiles to create a proper connection. All these decisions must be finalized before the plasterers arrive.
Step 3: Heating System Upgrade – Now You Know the Real Demand
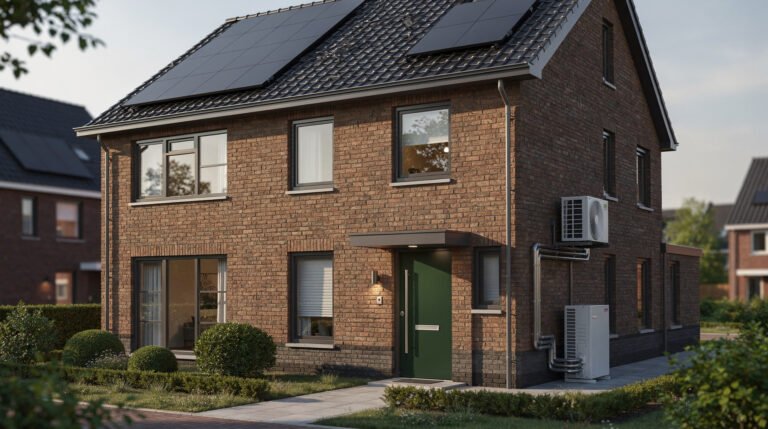
Only after the envelope is tight and the windows are in place can you accurately design your heating system. The heating load (heat loss calculation) will be dramatically lower than before the insulation work. In the Netherlands, this is the moment to transition from a gas-fired CV-ketel to a sustainable alternative such as a warmtepomp (heat pump), a hybrid setup, or district heating (stadsverwarming) if available.
Sizing and Replacing the Heat Generator
Calculate the transmissieberekening according to ISSO 51 or use the energy label improvement path. A well-insulated and triple-glazed vrijstaande house might need only a 4–6 kW air-to-water heat pump, whereas the original gas boiler might have been 24 kW. Oversizing leads to inefficiency and unnecessary cost. If you intend to keep radiators, consider their size: lower flow temperatures (35–45 °C) require larger emitting surfaces. During a full renovation, you can choose to install underfloor heating (vloerverwarming) throughout the ground floor, which pairs perfectly with low-temperature heat pumps.
Distribution System and Pipework
This step needs to happen after the first fix of insulation but before screeding and final floors. Typically, the sequence is:
- Install wall insulation, roof insulation, and new windows.
- Run new central heating pipes, ventilation ducts (for balanced ventilation with heat recovery, type D), and electrical cables in chases within the insulated walls or inside new framed walls.
- Lay underfloor heating pipes and pour a sand-cement screed or anhydrite vloer (gietvloer). Ensure the screed includes expansion joints to prevent cracking.
- Place the heat pump unit outside and connect the indoor module. This is best done after the screed has cured but before the final floor finish (tiles, wood, etc.).
If you are installing a mechanical ventilation with heat recovery (WTW) system, route the ducts through the attic and drop them into ventilation zones. All penetrations through the airtight layer must be sealed with grommets or tape to maintain the building’s airtightness.
Ventilation Coordination
A tight home requires controlled ventilation. The Dutch Bouwbesluit demands continuous ventilation in new-build or major renovation situations. When you insulate and replace windows, integrate ventilation provisions early: wall grilles, ductwork, or passive vents in window frames. Make sure they are in place before plastering. In a full renovation, a balanced ventilation system with heat recovery is the gold standard because it recovers up to 95% of the heat from outgoing air, further reducing the space heating demand.
Step 4: Interior Finishes – The Final, Protected Layer
Only when the building is watertight, insulated, window-fitted, heated, and ventilated should you turn to interior finishes. If you start plastering, painting, and laying floors too early, you risk damage from construction moisture, drying cracks, or accidental damage during later trades.
Plastering and Wall Finishes
After the electrical and ventilation first fix, and once the insulation and airtightness details are complete, close up the walls. Use gypsum plaster (stucwerk) or clay plaster for vapor-open walls. In high-performance renovations, many homeowners opt for additional haflucht bouwplaten or Fermacell boards to create a smooth surface over insulation. Plasterwork generates a lot of moisture; therefore, you need the heating system operational to dry the house in a controlled manner. Schedule plasterers after the heating system has been tested and can run temporarily. If underfloor heating is used, run the initial heating protocol (opstookprotocol) to slowly warm the screed and prevent cracks before any tile or wooden floor is laid.
Flooring and Carpentry
Final floor finishes such as wood, vinyl, or tiles must be applied after the screed has reached its design moisture content (often below 2% for anhydrite). Using a moisture meter is essential. Plan this after the dust-heavy tasks like plaster sanding and painting of ceilings are finished. Internal doors, skirting boards, and architraves come next, followed by final painting. By this stage, the heating system is fully functional and you can maintain a stable indoor climate to protect delicate materials.
Kitchen and Bathroom Installation
Kitchens and bathrooms are the last major installations to be completed because they combine services (water, electric, ventilation), tiling, and cabinetry. All service points must have been roughed-in during the heating/ventilation/pipework phase. Tiling should be done after screed curing and plaster drying, and before sanitary ware and kitchen appliances are fitted, to avoid gaps and to allow proper sealing. The final plumbing connection and electrical hook-up are the finishing touch.
Practical Tips for Dutch Renovators
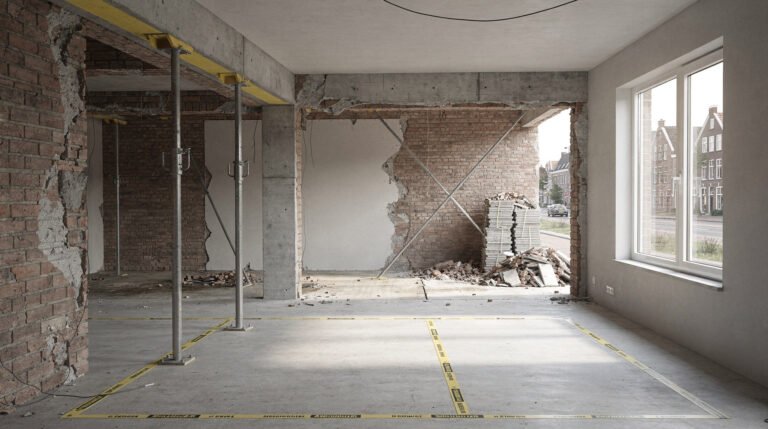
- Coordinate with your aannemer: Clearly define the sequence in the contract. Best practice is a logical word such as: stripping and demolition → structural work → roof insulation → cavity wall or external insulation → window/frame replacement → first fix services → plastering and screed → heating appliance installation → final finishes.
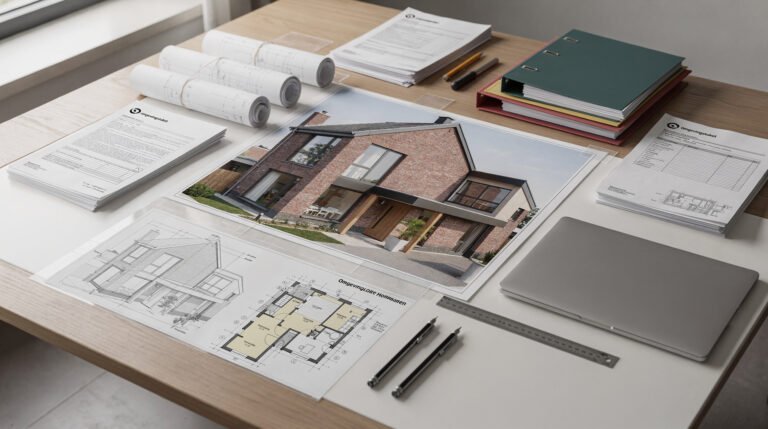
- Apply for permits and subsidies early: For external insulation that changes the building’s appearance, a vergunning may be required. Subsidies via RVO (ISDE, SEEH) demand that at least two energy-saving measures are taken—insulation and heat pump, for instance—and that insulation is done first to be cost-effective.
- Perform a blower door test: After the airtightness layer is complete (after insulation and windows, before closing up walls) have a luchtdichtheidstest. It reveals leaks that can still be fixed inexpensively.
- Budget for temporary heating: In winter renovations, build in temporary electric heaters to maintain conditions above 10°C for plaster and screed to cure properly, but always switch to the permanent system for the drying stage once operational.
- Insulate pipes and ducts: All heating and hot water pipes in unheated areas (like the crawl space) must be insulated according to the ISDE requirements to get the subsidy. Do this during the pipework phase.
- Consider comfort and light: When ordering new windows, think about zoning: large south-facing glazing with a low g-value (solar factor) to avoid overheating in summer, and night ventilation strategies integrated into the WTW system. This will influence your final finishing because you might need external shading or insect screens, which must be mounted on the outside before scaffolding comes down.
Conclusion: Build Smart from the Inside Out
A successful full renovation in the Netherlands follows a deliberate hierarchy: first, create a thermally efficient, airtight shell with insulation; second, upgrade windows to maintain that performance and admit daylight; third, design and install a right-sized heating and ventilation system based on the real heat demand; and finally, cover it all with beautiful, protected interior finishes. This renovation sequencing — insulation first, then window replacement, then heating upgrade, then finishes — prevents costly backtracking, ensures compliance with Dutch building regulations, and delivers a comfortable, low-energy home that is ready for the future. When you plan your project around this proven build order, every layer works in harmony, and you can enjoy the full benefits of your investment for decades to come.